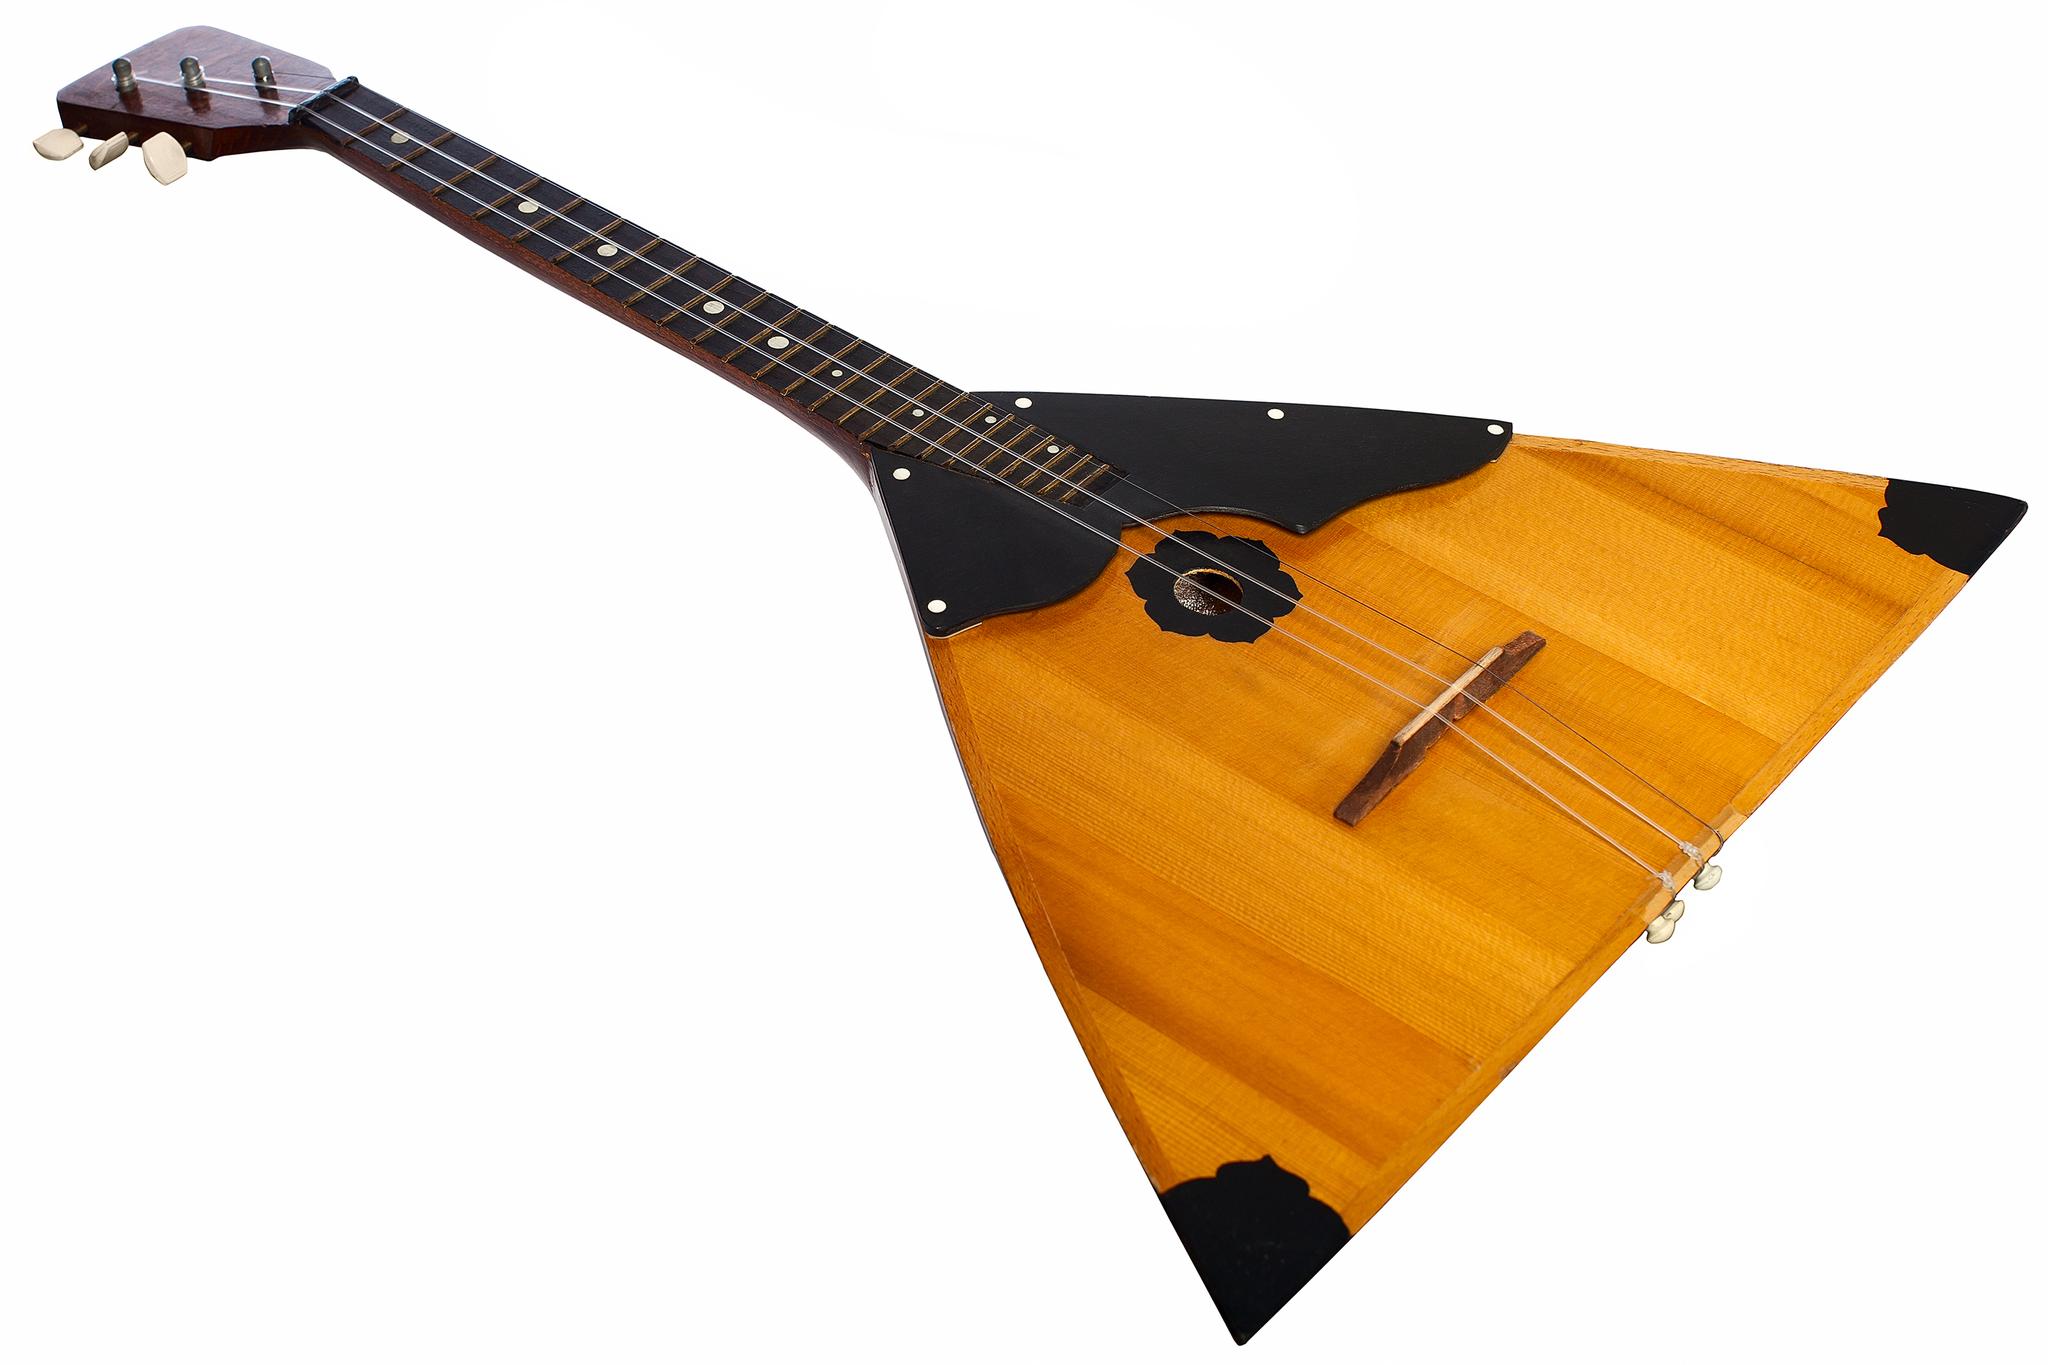
DIY Electric Mahalo
In the Hungarian Ukulele Club Facebook group, a very interesting series of photographs caught my eye. It documented the "electrification" of a Mahalo soprano ukulele. I asked the author of the post, Béla Csongrádi, whether he would like to describe the installation process, because I would be happy to publish it on ukulele.hu . A few days later — much to my delight — Béla's write-up arrived. Here it is:
"So why did I get into it... (and cut into its side)? I have a blues act where I play guitar, foot drum and harmonica through a nice little acoustic Fender amplifier. I thought I might bring the uke into the show too — I had hardly used it before — perhaps with a little reggae thrown in. I know you can buy electro-acoustic ones, but I did not want to buy yet another instrument, and the project itself intrigued me.

First I bought a Joyo electronics unit from an instrument discount shop, but it turned out to be too wide, so I sent it back. I found this UK 200 online. I dared to buy it because there was a detailed description of how to install it, including the tools required, which was more than could be said for the unit from the discount shop.
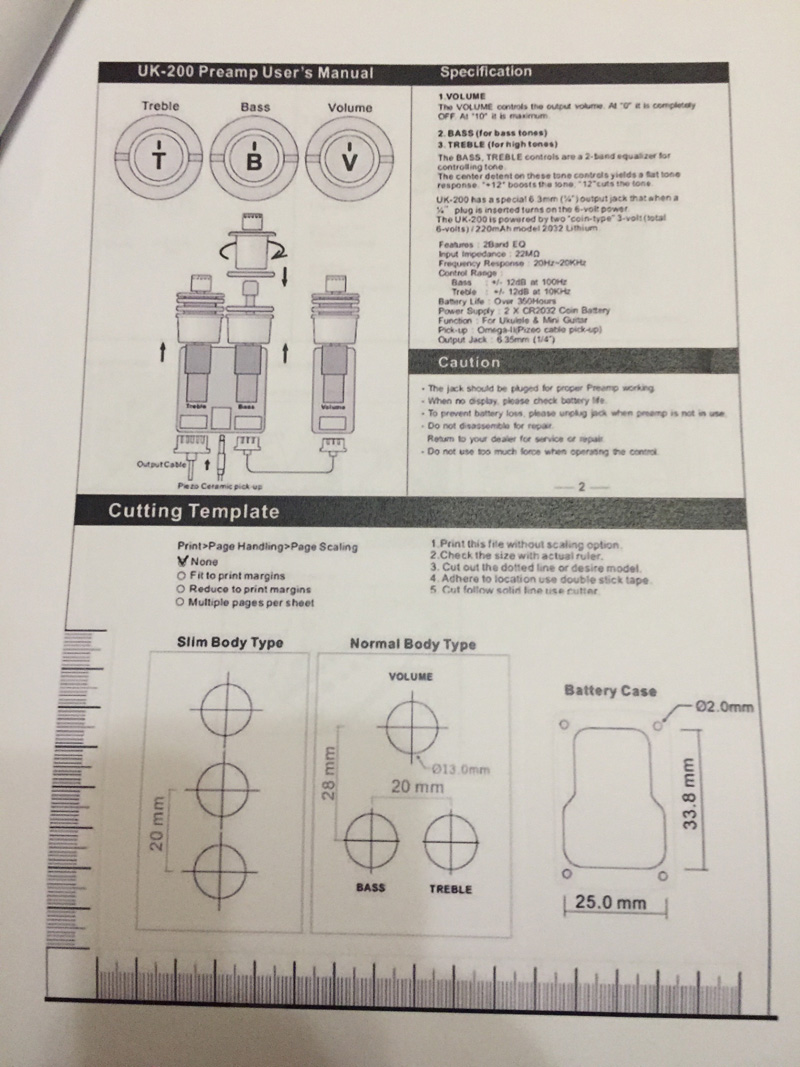
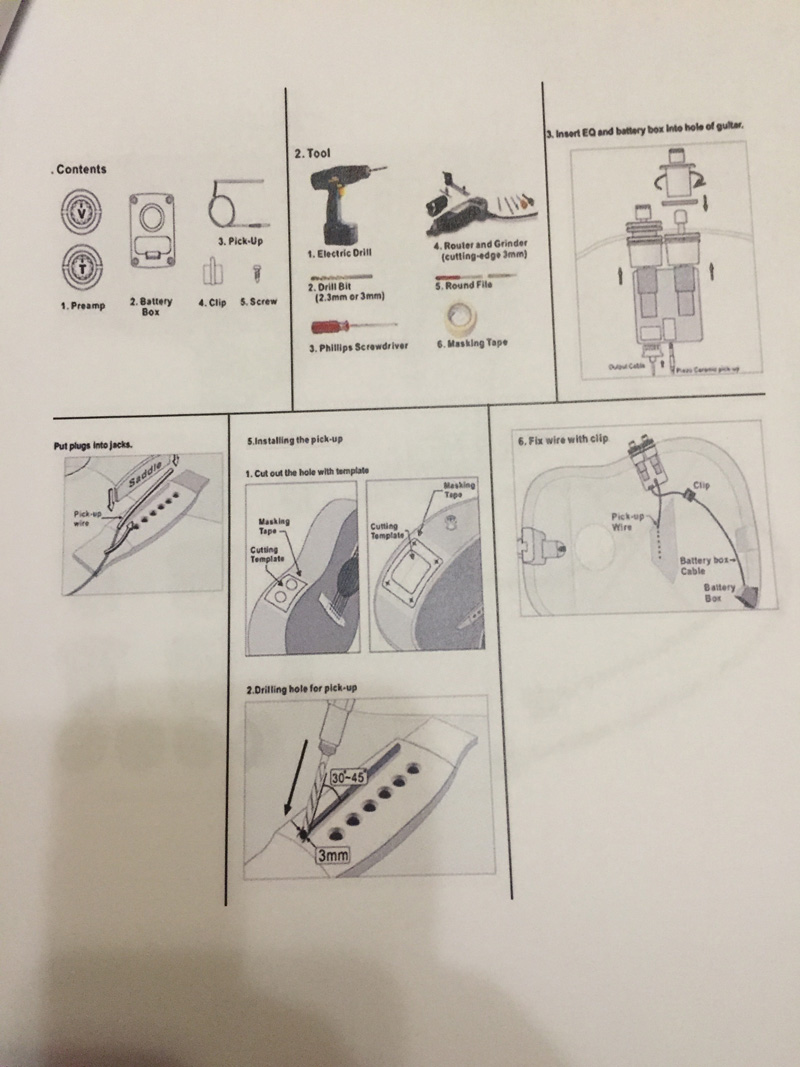
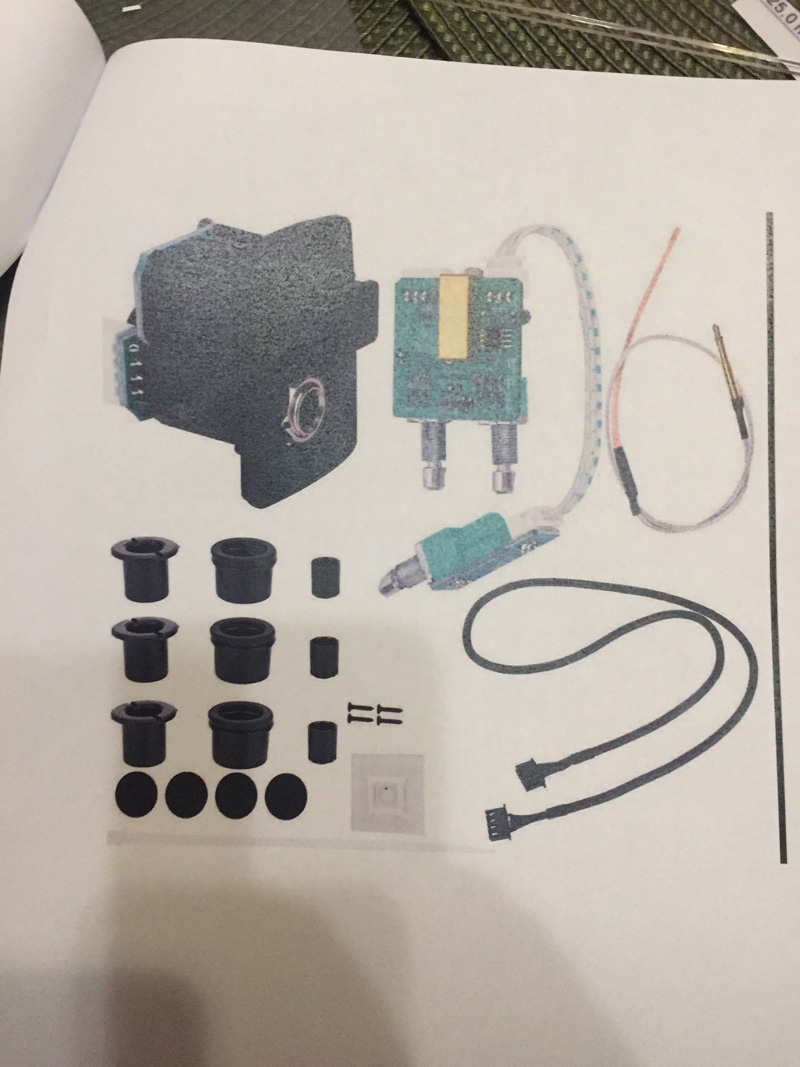
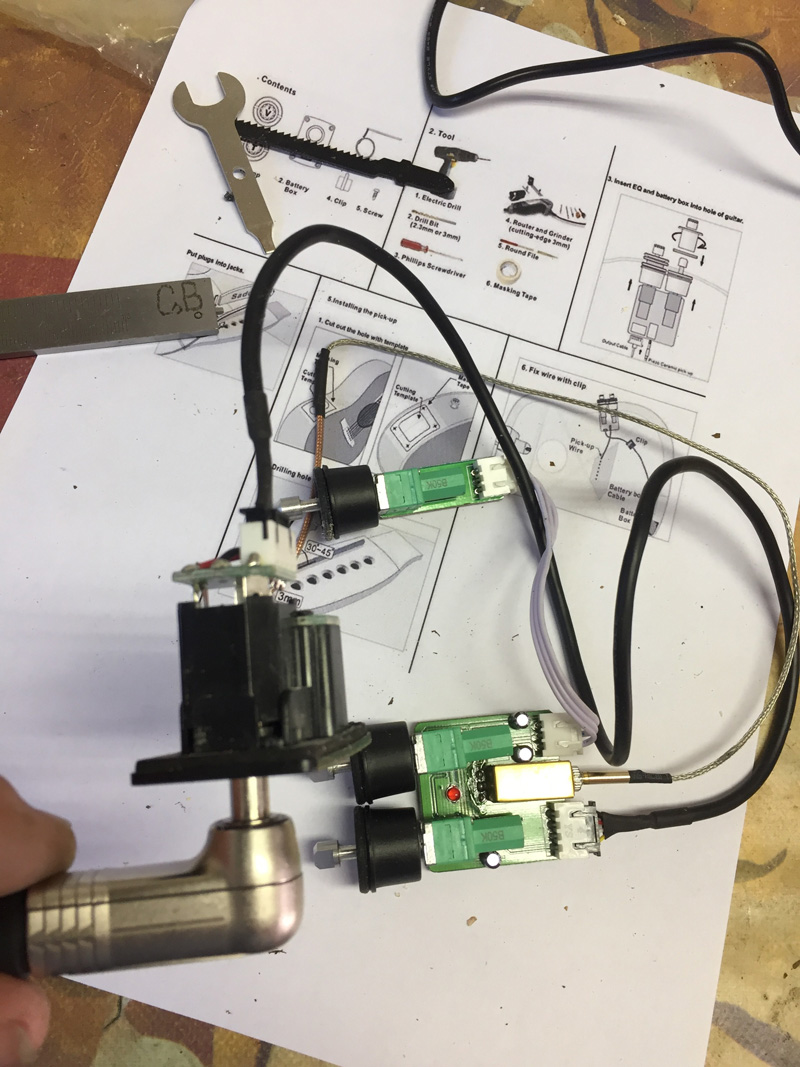
I had never done anything like this before. I ordered it on eBay and everything was included in the package. The electronics are not enclosed (!) so I may have squeezed the circuit boards a little during installation, or perhaps they were damaged in shipping. I had already started drilling and cutting when it occurred to me that perhaps I ought to test it... and it produced no sound . You should know that it switches on automatically when the jack plug is inserted, and a small LED indicates this. I took it to a friend, who refreshed one or two solder joints, and then it worked .
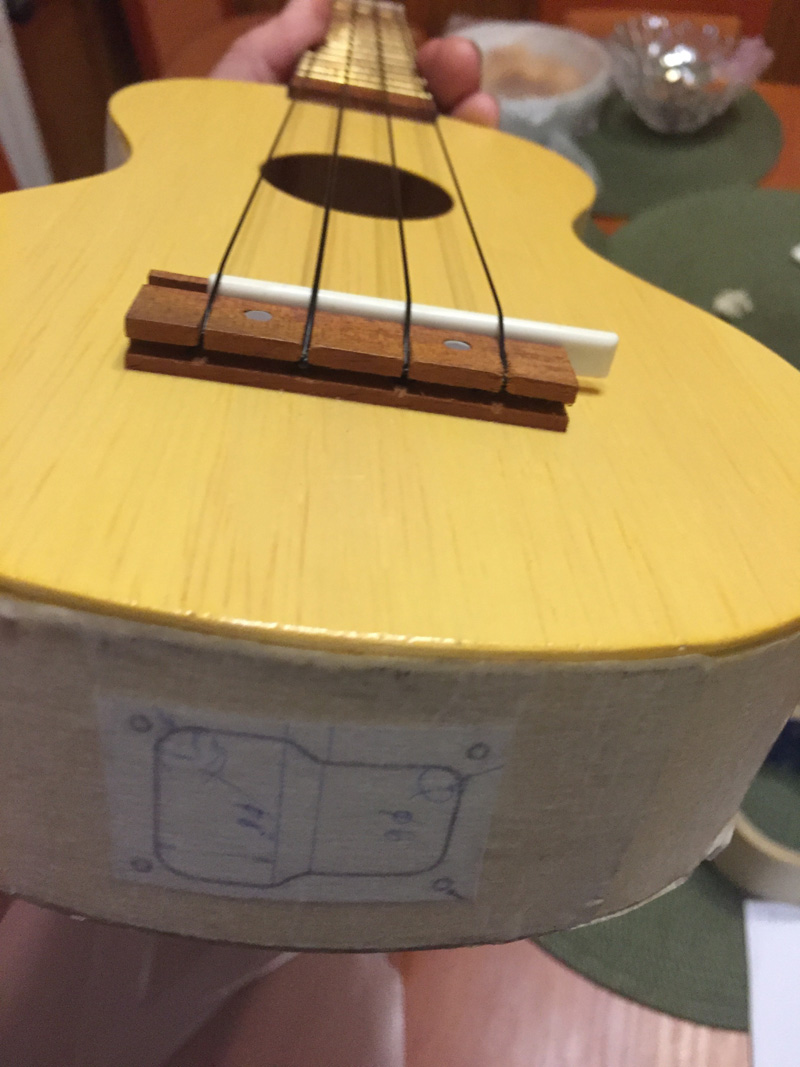
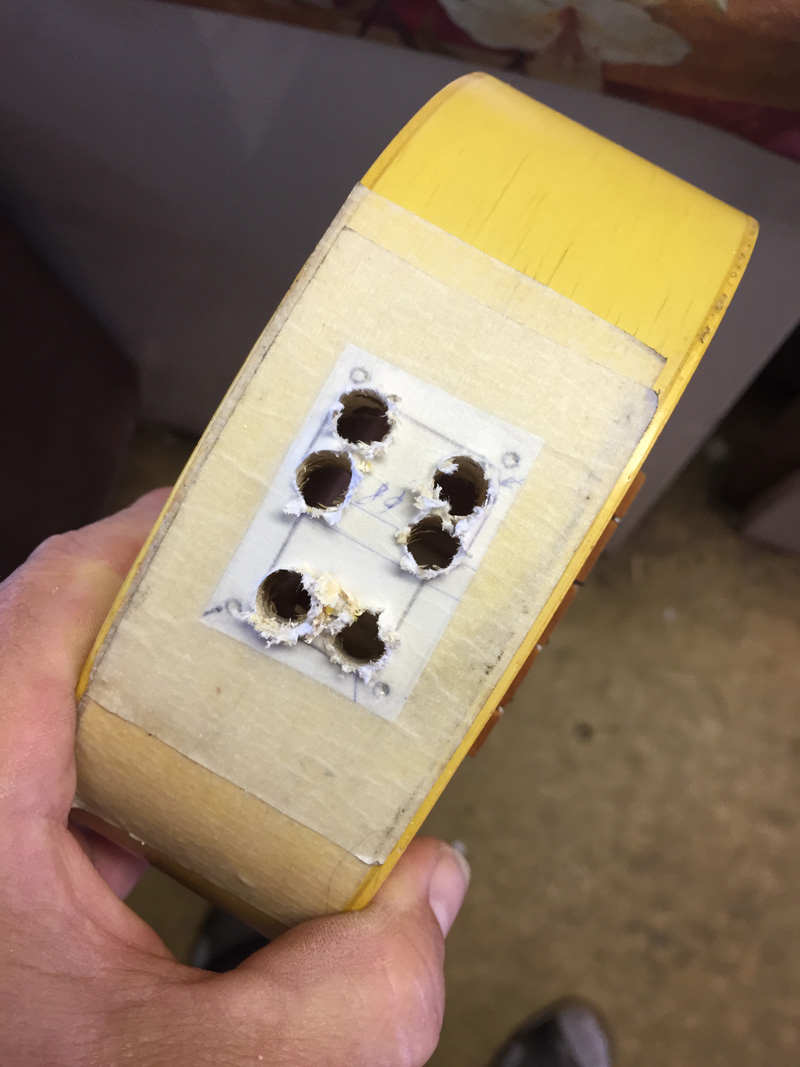
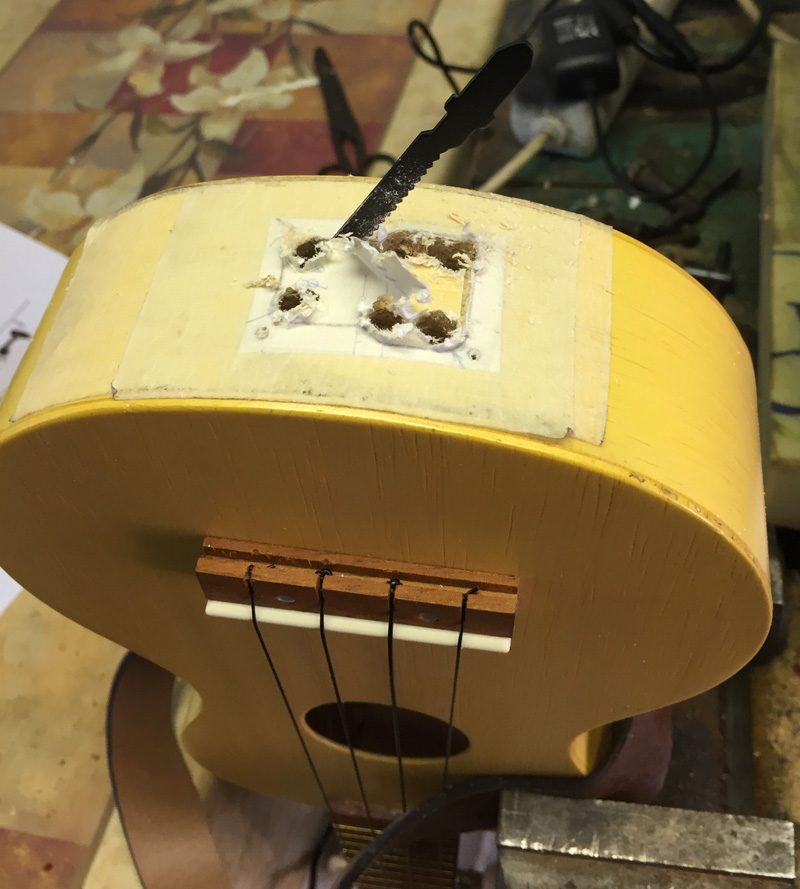
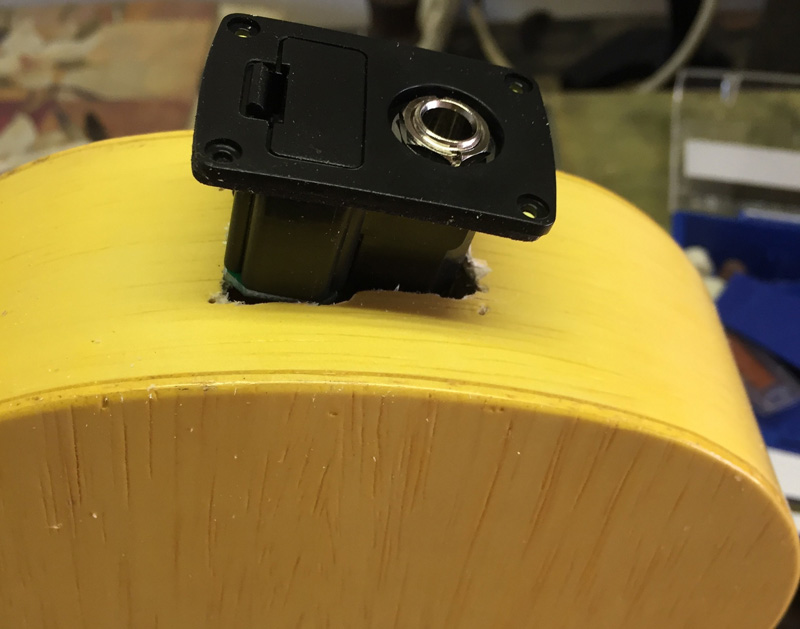
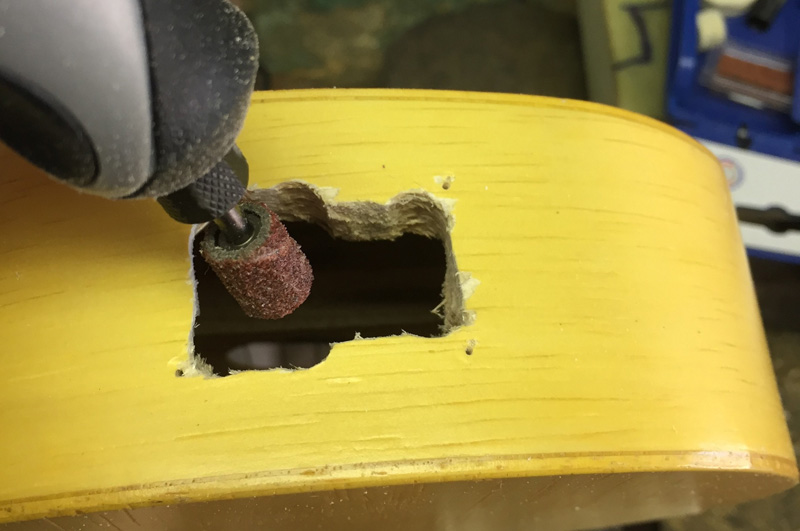
The first question, of course, was what should go where on the slim little body of this beauty. I planned to put the control electronics — a pair of tone controls on one circuit board and a separate volume control — in a row along the small upper curve of the body. The surprise came when I realized that because of the radius, the electronics touched each other inside the body. We had a problem... , as you can see in one of the photos. But by then the hole was already there. The only solution was to make the openings slightly oval, which let me install one of the circuit boards at an angle. Fortunately the trim flanges hide the mistake quite well. I should not have placed the jack socket, which also holds the batteries, directly on the centerline (it would have been better perhaps 5 cm lower), because I cut through the internal block. I had not looked inside there and simply did not expect reinforcement in that spot. Fortunately no harm was done and the instrument still holds its tuning. Installing the pickup raises the saddle, so you have to sand down the saddle by a height equal to the pickup's thickness. I read that some people encapsulate it in resin, but I did not do that, thinking it might remain more sensitive this way. To my ears there are both highs and lows now — as much as a little ukulele can have them, anyway.
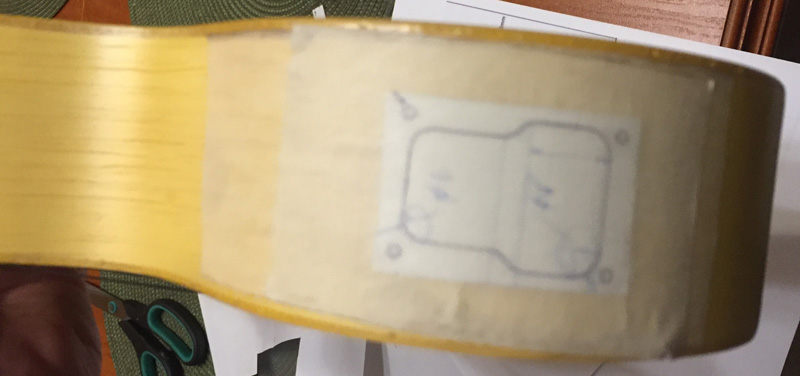
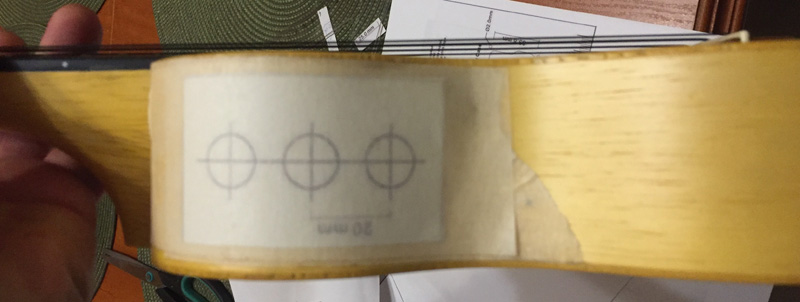
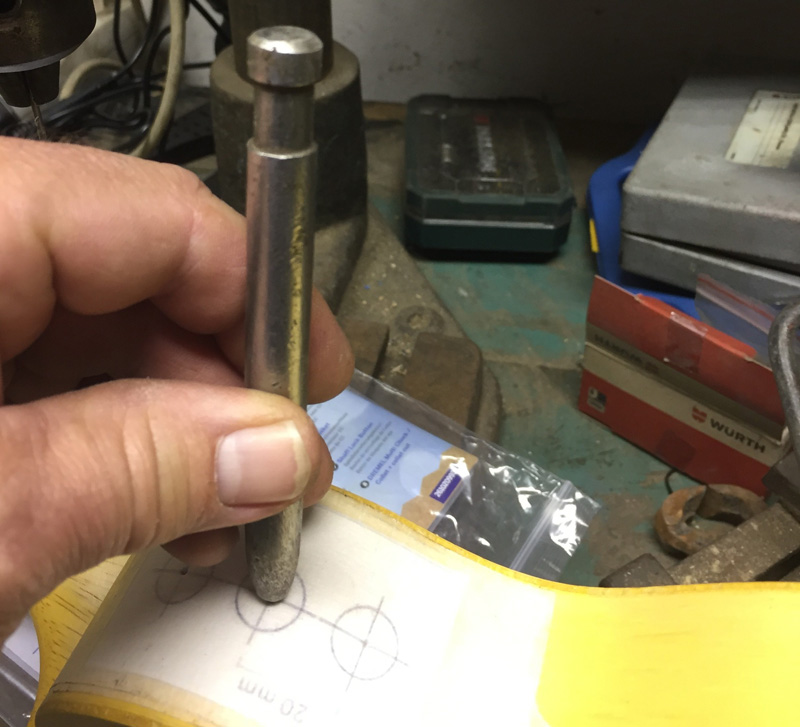
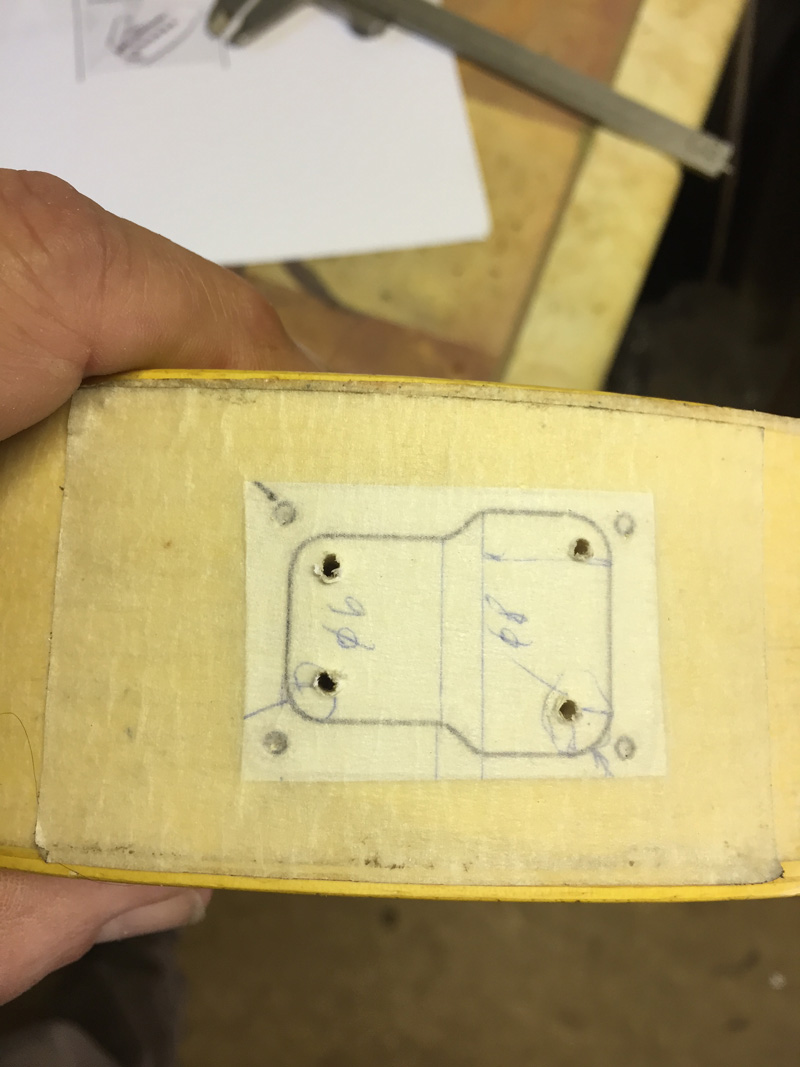
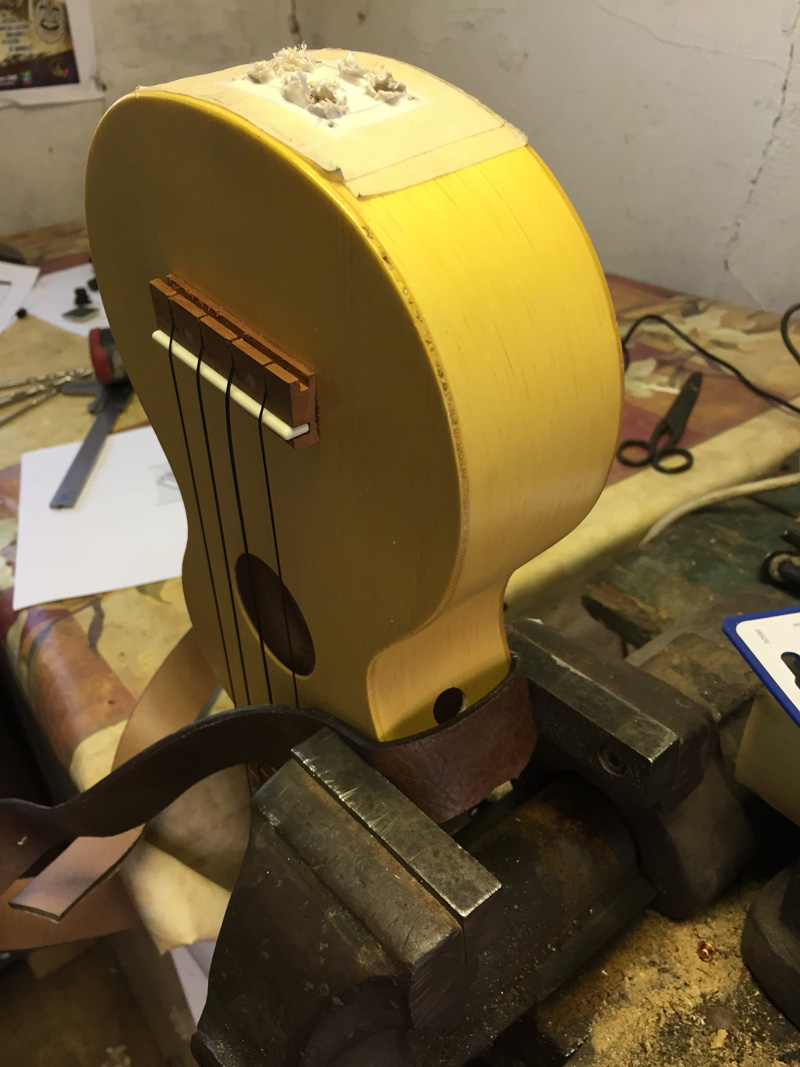
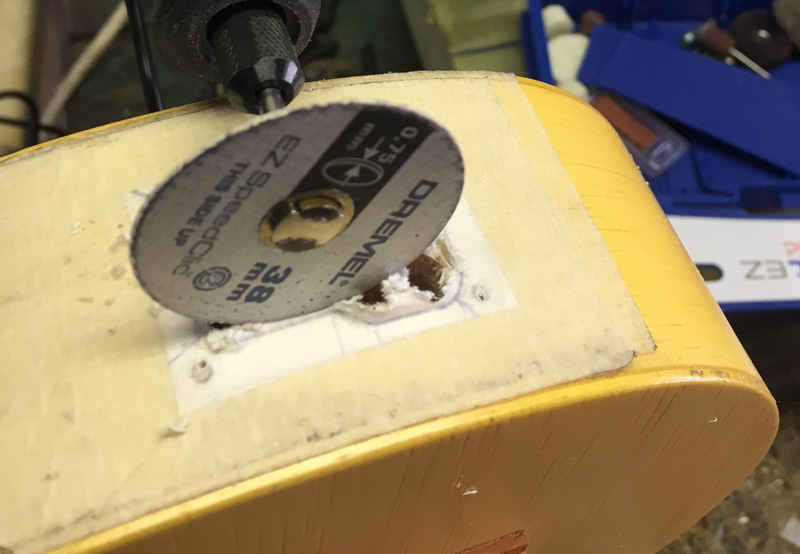
The little templates supplied with the unit are extremely useful. The whole thing cost HUF 3,200. To protect the body, I first applied masking tape and then attached the templates on top. The rest can be seen in the photographs. I even clamped it in a vise (!) between pieces of leather. The installation took about three hours.
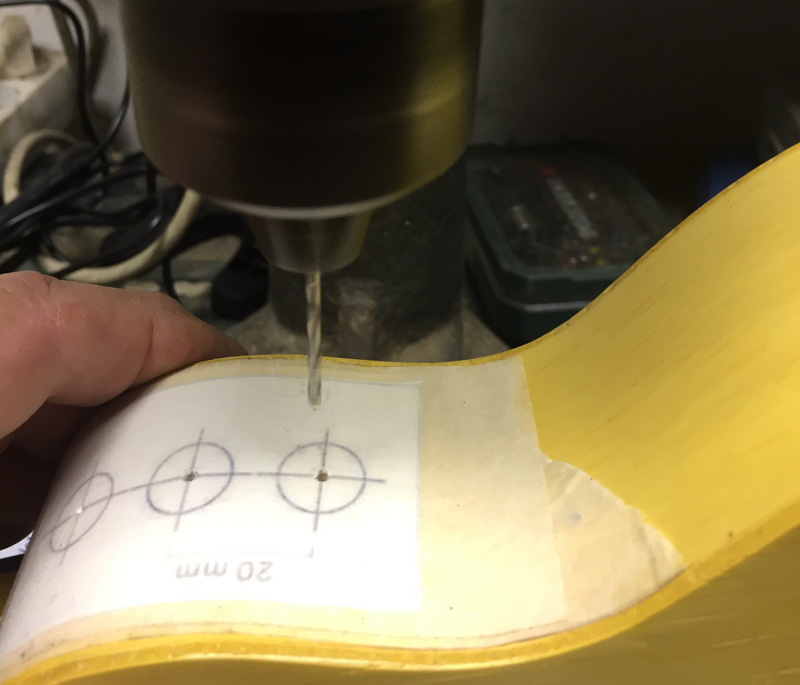
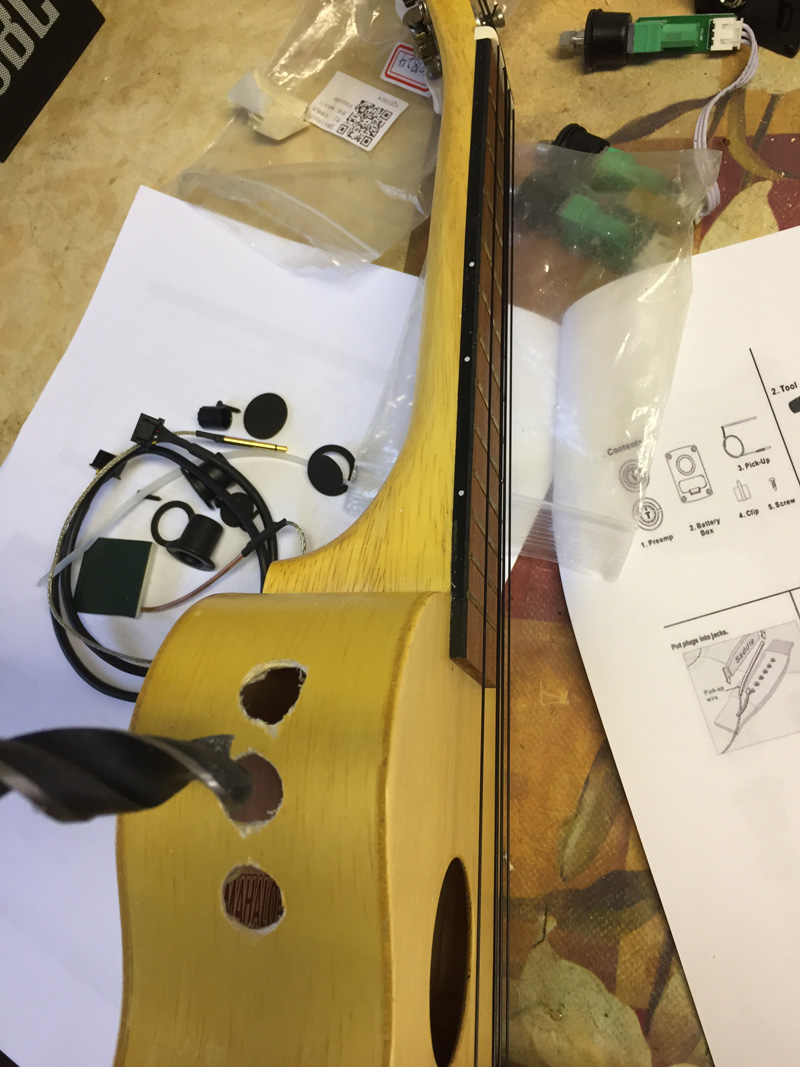
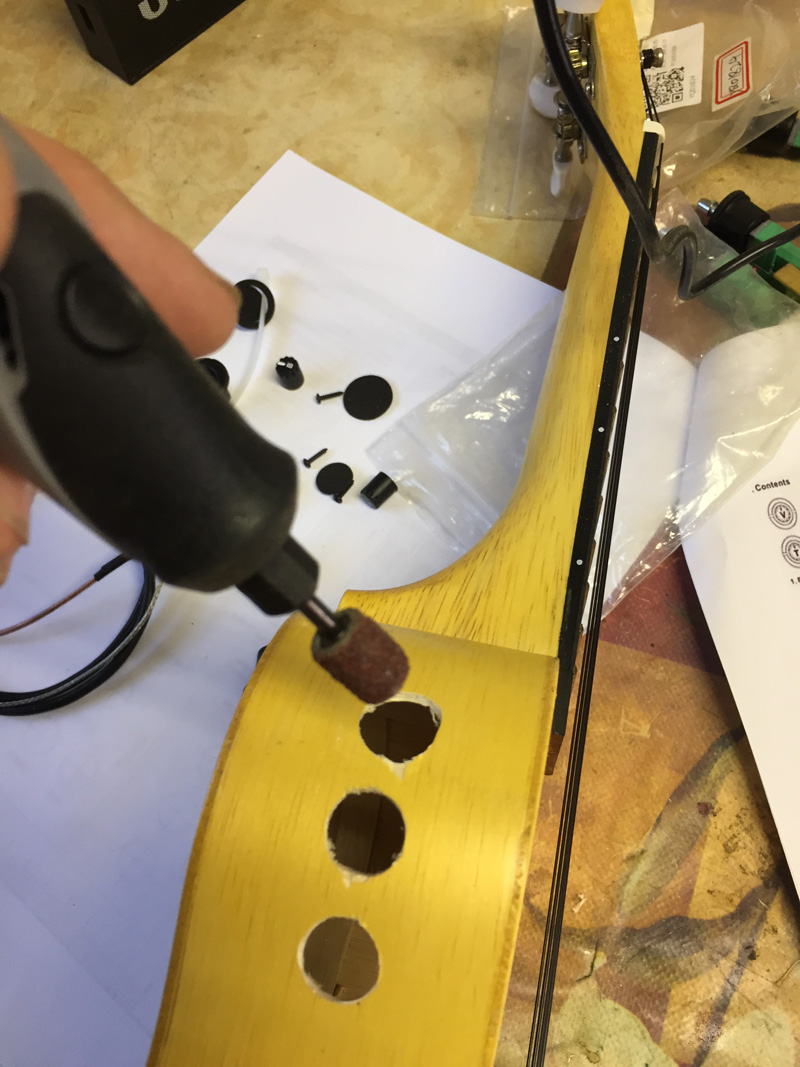
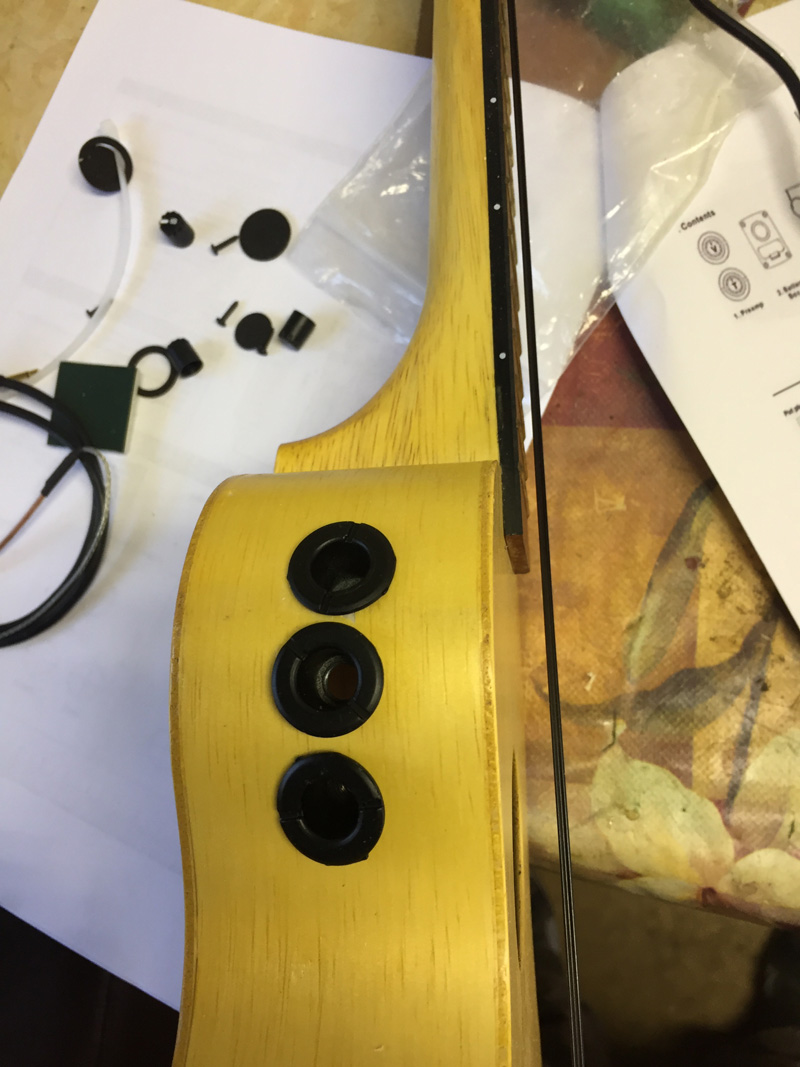
There ought to be one song from me here too. Turn it up, though, because the pickup had not been installed yet when this was recorded! This is how we are waiting for the good weather!
Make music, because it is good for you!
Béla Csongrádi"
Many thanks to Béla for the write-up and for the detailed photographic documentation as well!